

Hannah Natural — marca oficial nos EUA
100% Pure Indigo Powder for Hair Dye, 100 Gram Blue 3.52 Ounce (Pack of 1)
Importado dos Estados Unidos · enviado da Flórida
1 / 4

Sobre este item
- 100% chemical free all natural herbal henna
- The only ingredient is indigo leaf powder
- Gives a natural and attractive indigo blue color for your hair
- Contains 2 packs of 50 gram each, pair of gloves, shower cap and full detailed instructions
- Product of India
Descrição
Our herbal indigo leaf powder is 100% natural, 100% pure, and chemical free. Switch to our all natural indigo powder and experience long lasting, deep indigo blue color for your hair.
Especificações
| Product Dimensions | 1.2 x 2.5 x 3.5 inches; 3.52 ounces |
|---|---|
| Item model number | Han-0356 |
| UPC | 883104342326 837655075721 880147816401 787734084079 885718583553 |
| Manufacturer | Hannah Natural |
| Color | Blue |
| Container Type | Sachet |
| Product Benefits | Provides long-lasting, natural indigo blue color to hair |
| Brand Name | Hannah Natural |
| Item Form | Powder |
| Hair Type | All |
| Number of Items | 1 |
| Recommended Uses For Product | Hair coloring |
| Suitable Hair Color | Blue |
| Item Weight | 3.52 ounces |
| Model Number | Han-0356 |
| Manufacturer Part Number | Han-0356 |
| Material Features | Natural |
| Material Type Free | Chemical Free |
| Full Cure Time | 30 minutes |
| Hair Color Permanence | Permanent |
| Unit Count | 3.52 Ounce |
| GTIN | 883104342326 837655075721 880147816401 787734084079 885718583553 |
Avaliações
4,2
13 avaliações de compradores
Avaliar este produto
Perguntas frequentes
As dúvidas que mais recebemos sobre compra, prazo e impostos.
O produto é original?
Sim — original, novo e lacrado. Sem exceção.
Compramos direto das marcas, de distribuidores autorizados e de grandes varejistas dos Estados Unidos. Cada item é recebido, conferido e separado no nosso próprio centro de distribuição na Flórida antes de embarcar para o Brasil.
Não trabalhamos com réplicas, recondicionados ou fornecedores sem procedência — e é por isso que conseguimos garantir a origem de cada unidade que sai daqui.
O produto vem mesmo dos Estados Unidos?
Vem. E não existe outra origem possível: não mantemos estoque no Brasil.
Seu pedido sai do nosso centro de distribuição próprio em Margate, na Flórida, onde é conferido, embalado com proteção reforçada para o transporte internacional e despachado para o endereço informado na compra.
Sem intermediário, sem revenda no meio do caminho: da prateleira americana direto para a sua casa.
Em quanto tempo eu recebo?
O prazo exato do seu CEP aparece no carrinho e no checkout, antes de você pagar.
Na média, a entrega acontece em 7 a 12 dias úteis após a aprovação do pagamento, divididos assim:
- 1 a 3 dias úteis — separação e embalagem na Flórida
- 1 a 3 dias úteis — transporte internacional EUA → Brasil
- 3 a 7 dias úteis — desembaraço e entrega pelo transportador local
Nada de “aguarde 60 dias”. Você compra sabendo a data e acompanha cada etapa pelo rastreio.
Vou pagar imposto ou alguma taxa quando o produto chegar?
Não. O preço que você vê na tela é o preço final.
Todos os tributos e encargos de importação já estão incluídos no valor da compra. Nós recolhemos, nós cuidamos do desembaraço — você não precisa fazer absolutamente nada.
Importante: se você receber SMS, e-mail ou mensagem pedindo pagamento de imposto para liberar a encomenda, ignore e não pague. A quitação é feita automaticamente pela nossa operação. Pagamentos por fora geram duplicidade e atrasam a liberação do seu pedido.
Quanto custa o frete?
Frete grátis para todo o Brasil, sem valor mínimo de compra.
O valor que aparece no produto é o que você paga: sem frete na finalização, sem taxa de importação na entrega, sem surpresa.
Quando meu pedido é enviado?
No mesmo dia em que o pagamento é aprovado, ele entra na fila de separação.
A preparação e a expedição na Flórida levam, normalmente, de 1 a 3 dias úteis. Alguns itens podem exigir um tempo maior de reposição nos Estados Unidos — e, mesmo nesses casos, o prazo final de entrega informado na sua compra continua valendo.
Consigo acompanhar a entrega?
Sim, do depósito na Flórida até a sua porta.
Assim que o pedido é postado, você recebe o código e o link de rastreamento por e-mail e WhatsApp. Também dá para consultar a qualquer momento na nossa página de rastreamento, usando e-mail, CPF ou número do pedido, ou em Minha Conta → Meus Pedidos.
A primeira movimentação pode levar até 48 horas para aparecer no sistema — é o intervalo normal entre a postagem física e a atualização do rastreio.
Esse produto está mesmo disponível?
Sim. Nosso catálogo é atualizado diariamente com o estoque real nos Estados Unidos.
Se, em uma situação excepcional, o item ficar indisponível depois da sua compra, nossa equipe entra em contato em até 24 horas úteis com as alternativas — produto equivalente ou reembolso integral, o que você preferir.
Em nenhum cenário você fica sem resposta e sem o seu dinheiro.
Comprar aqui é seguro?
É, e dá para verificar.
A Cosmetic Store é uma loja credenciada da rede ShopEx (ShopEx Global Operations LLC), empresa de e-commerce internacional que opera desde 2024 e responde por toda a operação logística dos pedidos — da compra nos Estados Unidos até a entrega no Brasil.
São milhares de encomendas já despachadas do centro de distribuição próprio da ShopEx, em 1856 NW 54th Ave, Margate, FL 33063, Estados Unidos. Endereço real, operação real, conferível.
No pagamento: ambiente criptografado (SSL), processado por gateway certificado PCI DSS. Os dados do seu cartão nunca ficam armazenados em nossos servidores. Pague com Pix ou em até 6x sem juros no cartão.
E se o produto chegar errado, avariado ou não for o que eu esperava?
A gente resolve — e o custo é nosso.
Você tem 7 dias corridos após o recebimento para solicitar troca, devolução ou reembolso. Basta entrar em contato com o número do pedido e, se for o caso, fotos do item e da embalagem.
Analisamos em até 24 horas úteis e, quando a devolução é aprovada, enviamos um código de postagem gratuito: você não paga logística reversa. O estorno é feito na mesma forma de pagamento da compra.
Comprar aqui não te expõe a risco nenhum. O risco é nosso.
Por que comprar aqui em vez de importar por conta própria?
Porque a parte difícil da importação já está resolvida.
Importando sozinho, você garimpa fornecedor, paga em dólar com IOF, contrata frete internacional, torce para o site americano aceitar seu cartão, acompanha o desembaraço e paga o imposto de importação depois — sem saber o valor final até a conta chegar.
Aqui, você paga em reais, com o valor total fechado na tela, e nós assumimos cada etapa: compra na origem, conferência e embalagem no nosso centro de distribuição na Flórida, envio internacional, desembaraço, entrega no Brasil e suporte em português até a encomenda estar na sua mão.
O mesmo produto original. Sem o trabalho, sem o risco e sem a surpresa no final.
Quem comprou também levou

Amrules
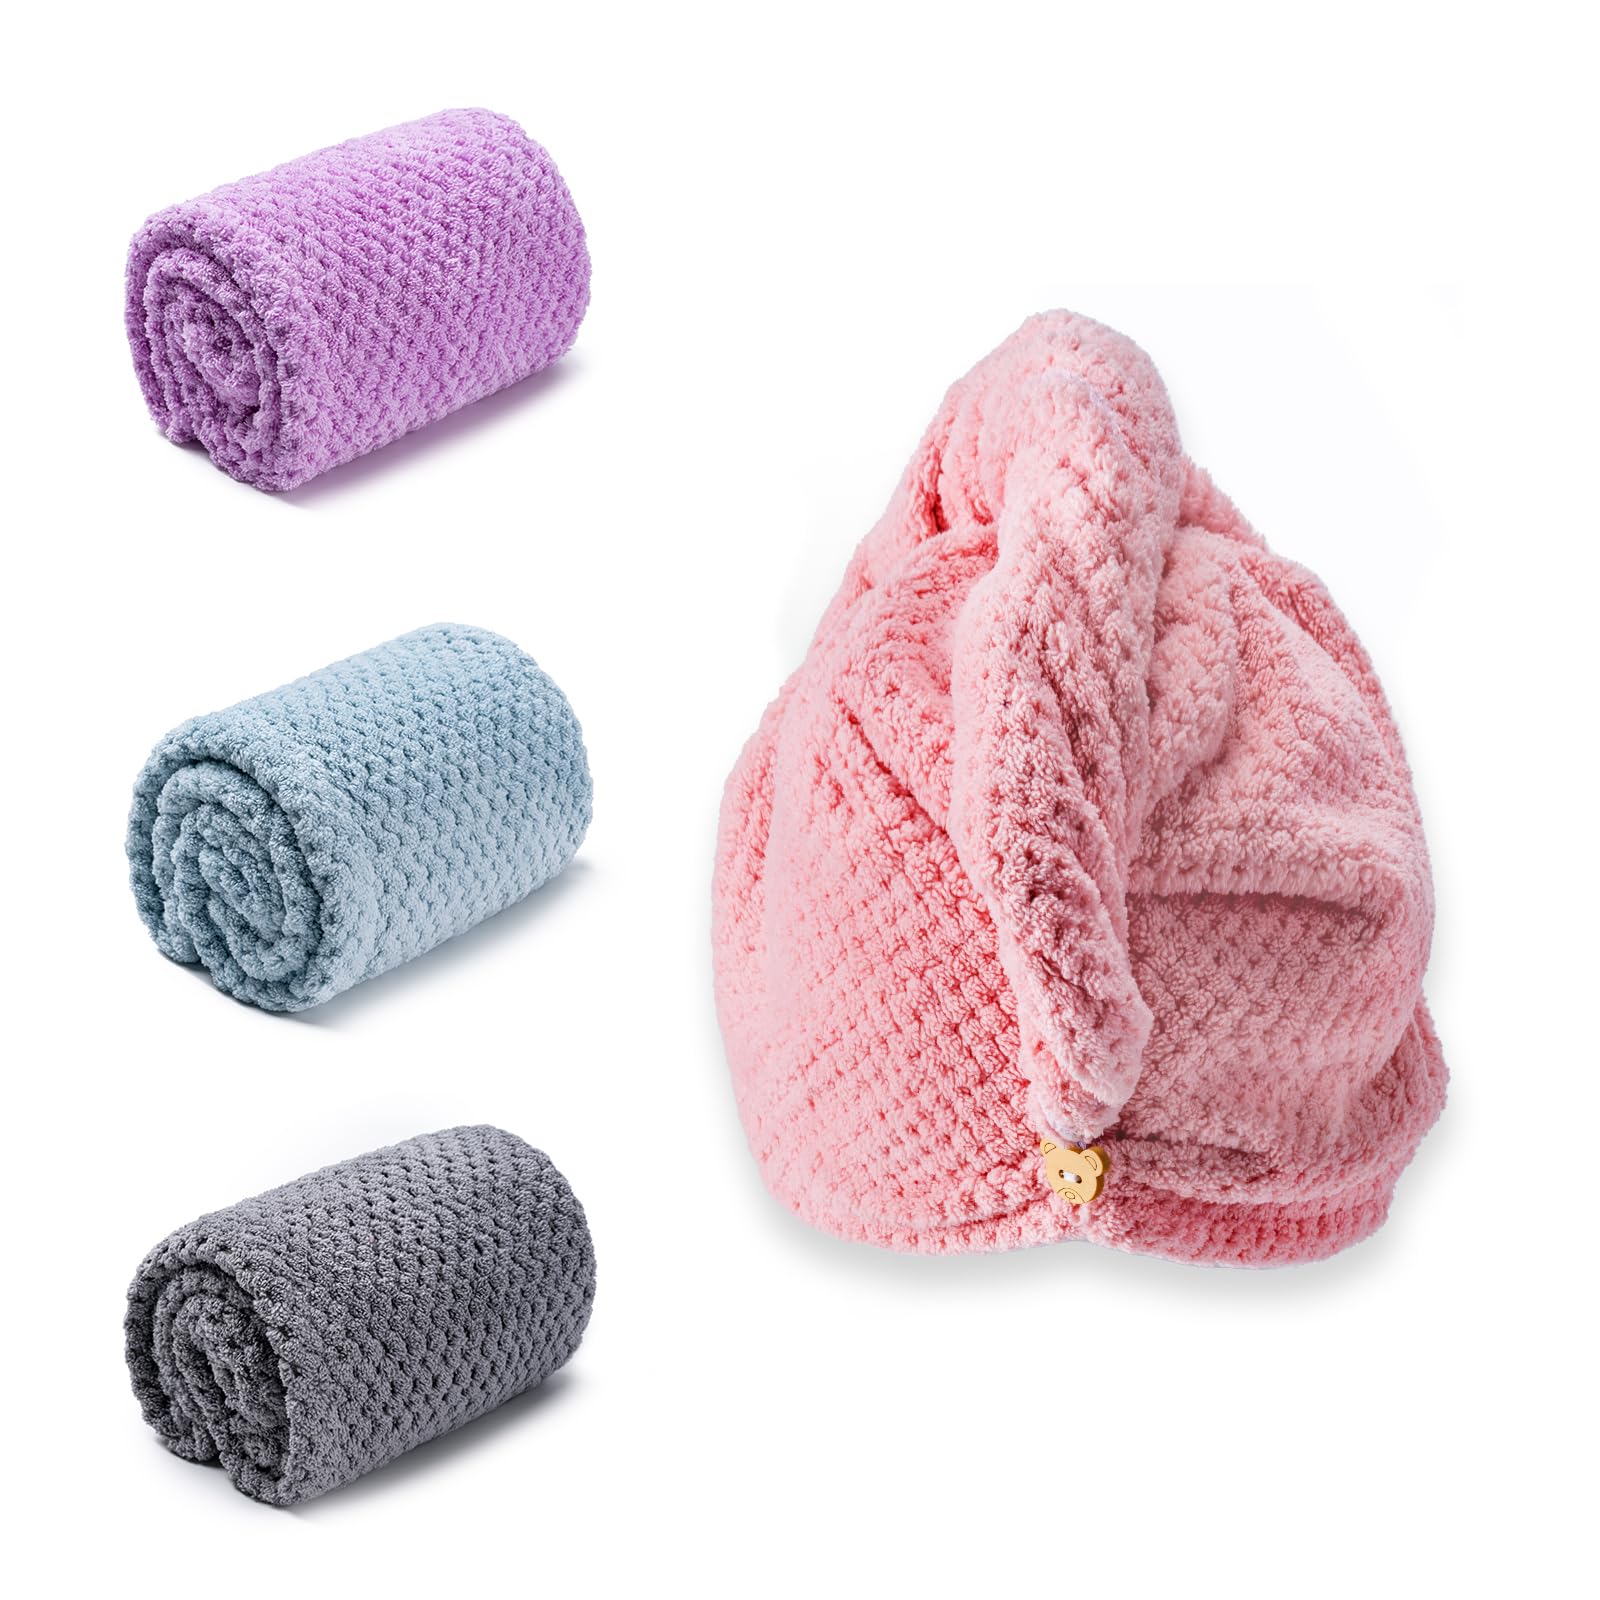
Amrules Hair Towel Wrap, 4 Packs Turbans for Wet Hair, 9.8" x 25.6"
R$179,90
R$204,43
12% OFF
Frete Grátis
Solvra
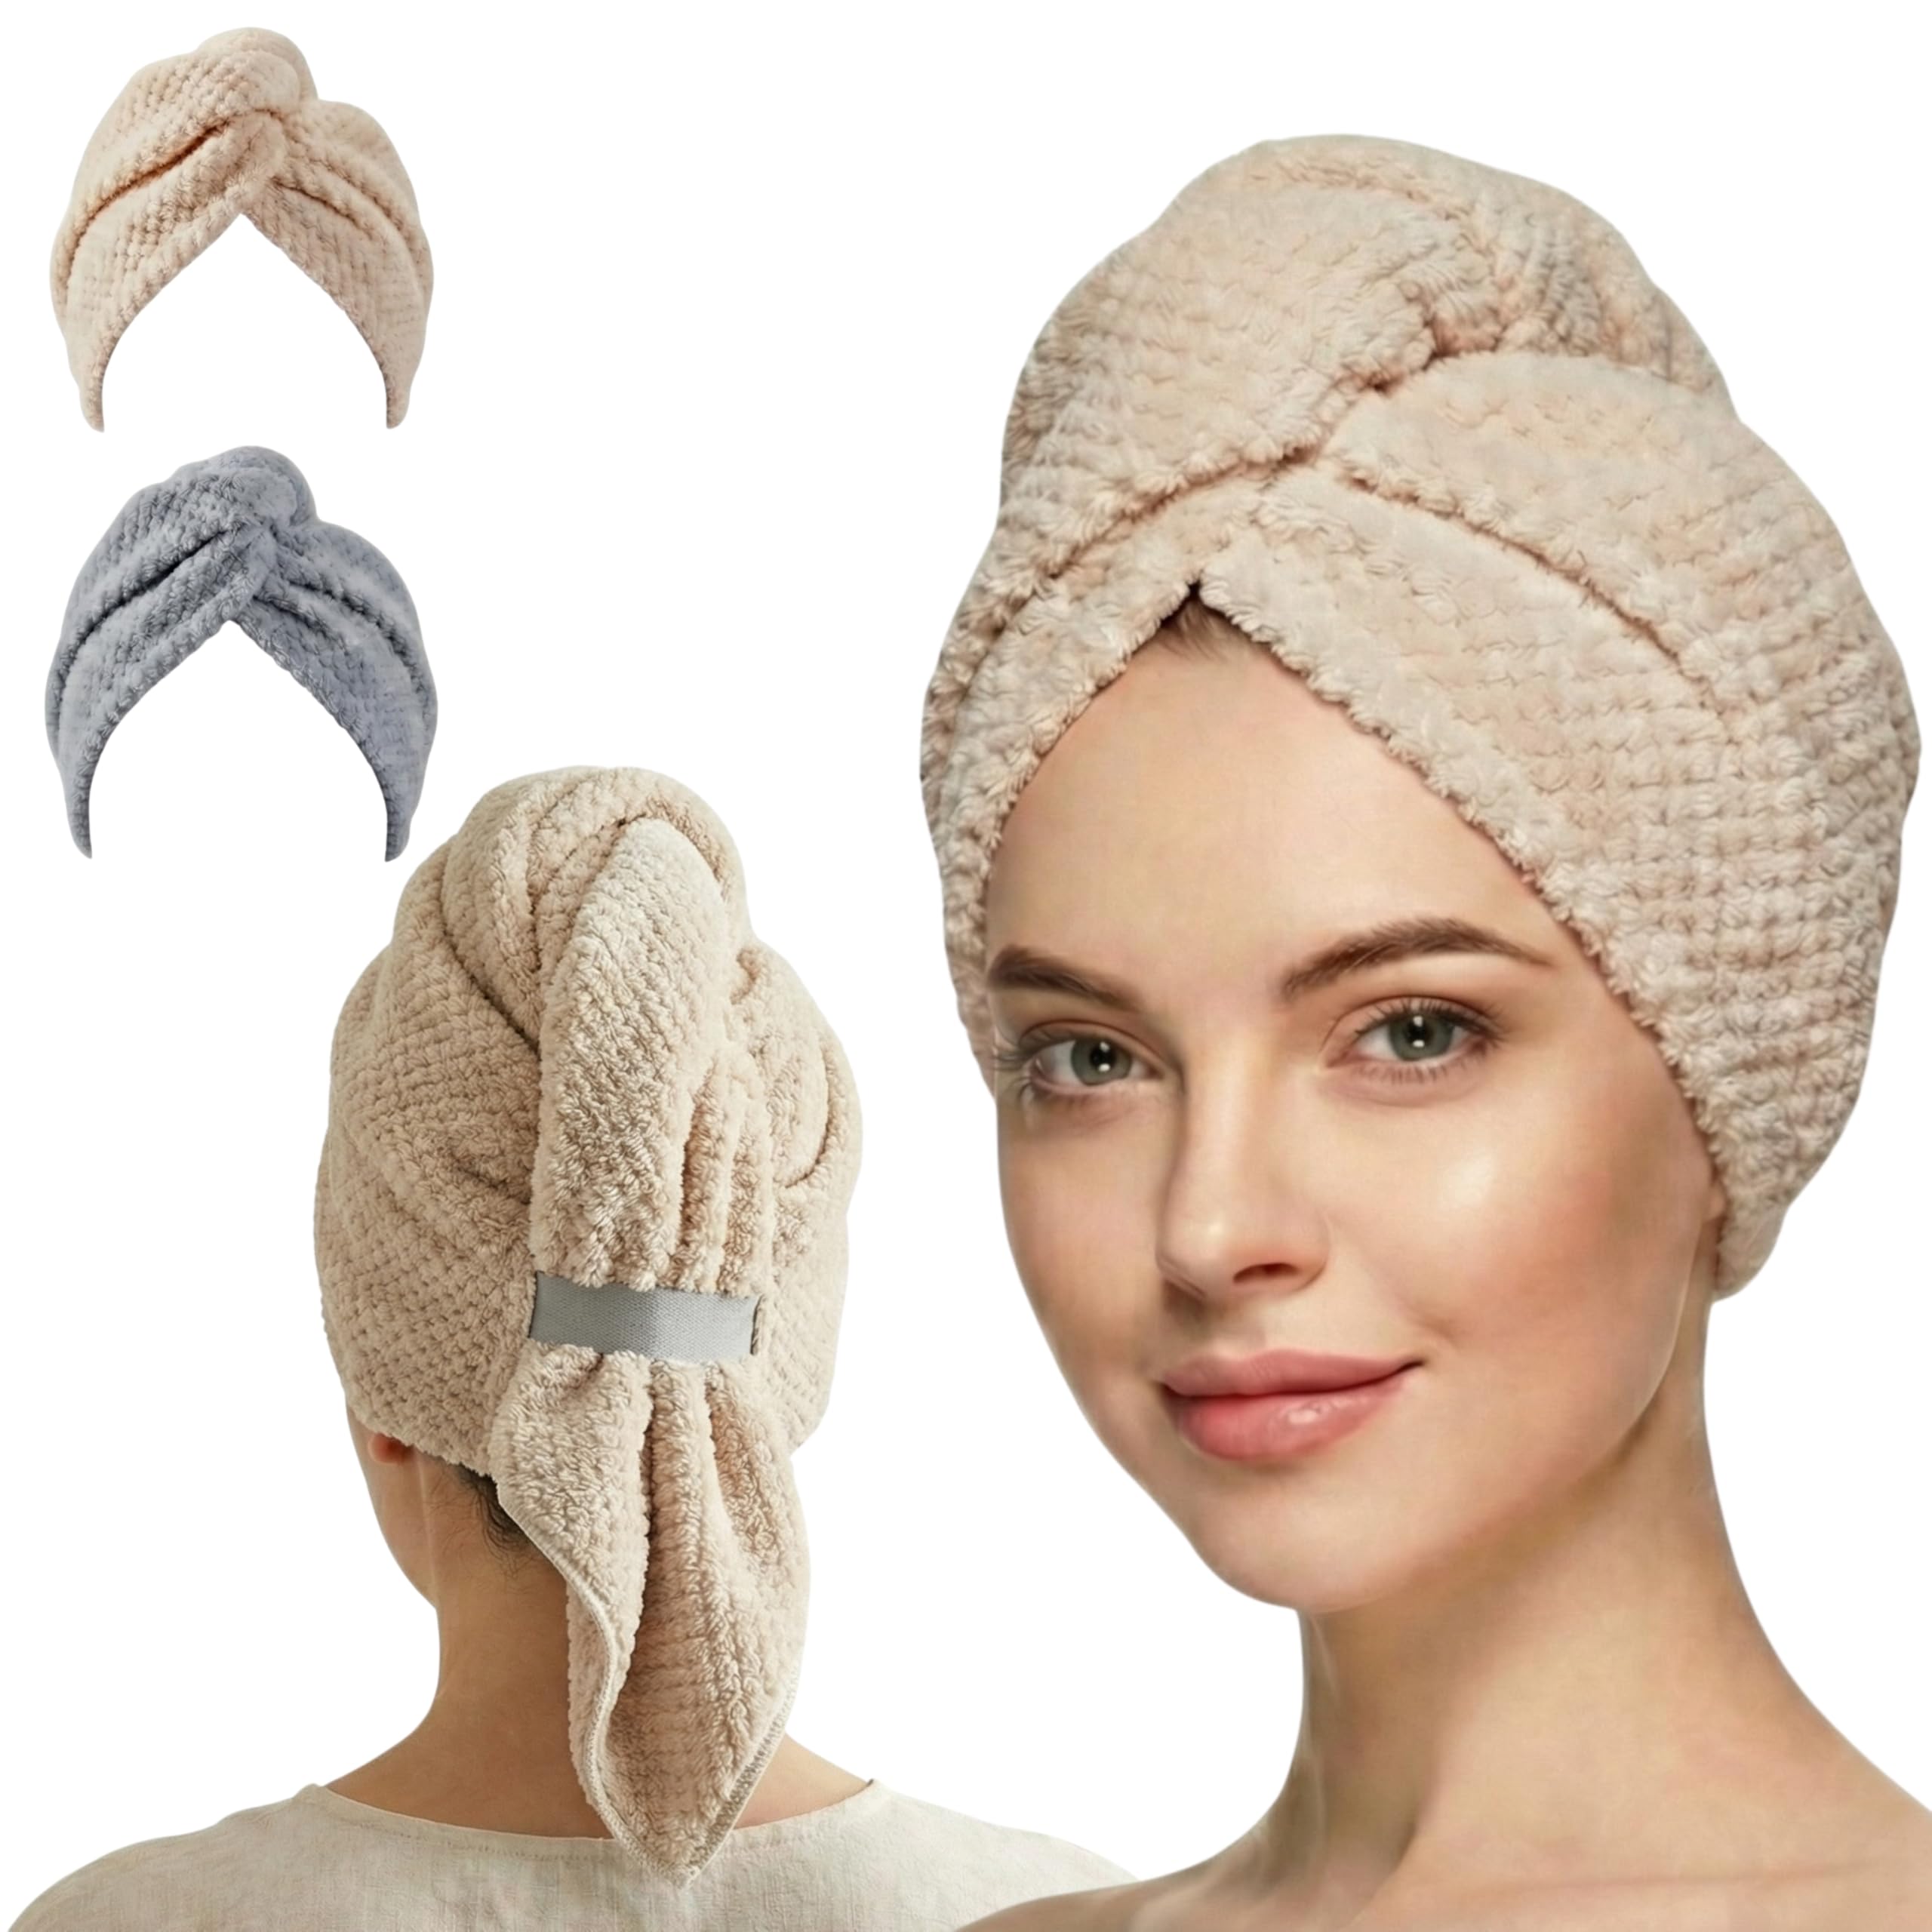
2 Pack Microfiber Hair Towel Wrap for Women with Button, 26 x 10 Inch Green+camel
R$209,90
R$244,07
14% OFF
Frete Grátis
OkayShay (comprador verificado) –
Shiny, black, hair <3
I used about 300g of this product for my hair (a fair warning it is an add on item so I had to buy 600g in total). My hair is about under my chest length. The directions aren’t very good so you kind of have to know what you’re doing before you put this in your hair. There are a lot of resources on the internet with directions on how to achieve the hair color you want using henna and indigo. I used Henna For Hair’s free pdf book on it which was a great help by the way for people who don’t know there way out of a paper bag with natural hair dyes.First, I waited two hours for the dye to release in the mixture (this was a combination of lemon/lime juice, hot water, and henna powder from my local indian grocery store), Then I put the 300g of Henna mixture on my head. I then proceeded to saran wrapped my head with the gunk and went to bed. In the morning I washed it all out. Then while letting my hair dry, I mixed up 300 grams of indigo, hot water, and two teaspoons of salt (apparently this helps the dye catch for stubborn strands). You should not wait for dye release like you do henna and you should have someone help you put it in your hair as soon as you mix it. I waited about two hours really. Then I washed it out. It was literally like a black ink pen exploded in my shower hahaha. After the messy wash out my hair was a lovely, shiny, and healthy blue-black color.Some Notes:If you want to get black hair with this it will be a two step process like I did with the henna and indigo. If you mix them together you will get a softer black or a dark brown instead.Kinda smells like spinach. But what do you expect?It is literally the hardest thing to put in your hair like my sister was complaining the entire time and so was I because the dye kept rolling off in balls onto my shoulders. It takes a lot of patience, time, and a well covered floor.If you are willing to do this the right way you will get wonderful beautiful results. Your hair will thank you. C:On how long the color lasts? I guess I will just have to find out. Apparently you can touch up the color with a mixture of 10% henna and 90% indigo though. 😀
D. Garz (comprador verificado) –
Worked perfectly to achieve dark brown hair!
This was my first experience using indigo. I’ve used Lush’s Caca Noir blocks in the past, which contain pre-mixed henna and indigo, but wanted to try my own mix. I didn’t want to get jet black hair and was aiming for a dark brown colour instead, so mixed 100g indigo with 100g henna from the same brand and left it on for 3 hours. I had been told that indigo is rather messy to apply but had no problems at all with this one. Stayed on my hair without flaking and washed off easily and without staining the shower. As for the colour, it matched my natural dark brown with some subtle red highlights due to the henna. I only needed to rinse it with warm water and the results were silky, shiny, and stronger hair. Overall, great product at a great price so will be buying again.
Anana (comprador verificado) –
very good product
It worked very well. I mixed the henna with half lemon and water and left it overnight. The next morning I mixed the indigo with water and then added it to the henna mix and applied it immediately. I left it on for about 2 hs. It came off nicely with water. I applied conditioner and it looked great! My hair is dark brown my white hair is reddish brown and it is shinny and soft to the touch.I also like the fact that I called the company and someone immediately answered the phone and all my questions.
Kimba (comprador verificado) –
Love it! I mix it with Henna and Amla to get the perfect shade. Costs about $4 each time I dye, lasts long – here’s my recipe
I used the straight henna three times now and it made my hair too carrot red, so I started mixing it with this and here is what I found. My hair is somewhat long, to the end of my shoulder blades. And, it is naturally a medium brown, but now about 30% gray.This box comes with 2 bags of indigo, as does the henna of the same brand. When I used one bag it wasn’t enough to fully cover my head. And, with just the henna it came out carrot top read – too bright for even slightly crazy me. 🙂 If you like very red, this is awesome! But beware, the grays come out VERY read.Then, I did some research. Now, I’ve made my hair PERFECT!! It is a medium to dark brown with beautiful red highlights. I love it! And it is super healthy. Even my hair dresser sister loved it and said how natural and healthy it looked. Here is the formula I put together after research:1 bag of this henna (same brand as this stuff – it’s orange/red dye)1 bag of indigo1 tablespoon of Amla (it’s a natural power conditioner you can get on Amazon cheap and helps reduce red)dash of salt (I read this releases the dye)mix these dry ingredients togetherAdd about 1 1/2 cups of hot water and stir (to the consistency of pancake or cake batter)Add 1 tablespoon lemon (releases dye also, I read)Add 1 tablespoon olive oil (this is VERY important – it is SO much easier to spread on hair and rinse out with this addition)Mix all these and let it sit 30 minutes. Then, put it on your hair, as you would any other dye. Seperating sections and really saturating it. Cover with a shower cap. Then, let it sit for 1.5 hours or more – I did 1.5 hours.Rinse. Shampoo. Condition. Maybe shampoo a second time – I find that residue stains my shirt after first two shampoos, so doing it twice helps. This residue goes away after a couple shampoos.The above recipe worked amazingly for me. Love, love, love it. Some people complain about the smell, but my entire family, including my 7 year old son, like it fine – we think it smells like strong tea. Of course, everyone’s hair is different, but the above worked great for me. Good luck!
imateapot (comprador verificado) –
Results need proper preparation and use of the indigo dye (green powder)
With sensitive skin, I’ve been using natural products for years. Amazon makes finding these natural products easy and convenient.After trying different techniques (and making lots of mistakes), I found to get the best results:1st, you have to start out with CLEAN hair (no conditioner). Conditioning your hair coats the pores in your hair, making it hard for the dye to deposit (stick) to your hair. Makes sense now, right? I made the mistake of conditioning my hair, or use it on hair that have been washed the day before and felt I slathered mud-like stuff on my head for several hours for no reason, since nothing happened.2nd, this product will darken your natural color and it does a wonderful job of conditioning and thickening your hair. HOWEVER, if you have grey/white hair, you will not get the black color shown on the model. You need something for the dye to stick to. Grey/white hair = no pigment, so you will only get a faded blue/black effect (imagine using Kool-aid on light hair). If you want grey/white hair coverage, you need to mix this with henna. The amount of henna you mix will determine the desired color (50 henna / 50 indigo gives you a medium/dark brown); more henna = more reddish color).3rd, once mixed, you need to apply this to your hair soon, the efficacy of indigo deteriorates quickly with time. Again, I once let mine sit for a few hours and the result = nothing happened ;/4th, I found making a paste with hot water works better to release the dye, BUT be careful to let it cool down enough so you’re not going to give yourself a 3rd degree burn :)5th, once rinsed off (I tried not to use shampoo, since it will strip off some of the dye you just painstakingly spent time to deposit onto your hair), the dye needs to oxidize over a day or so (meaning it darkens). I try not to wash my hair until then.With repeated use, more pigments are deposited, so grey/white hair becomes darker. For me, the color is permanent (doesn’t fade with time).Hope this helps!
Chelsea (comprador verificado) –
Did what I wanted it to do. Wouldn’t suggest …
Did what I wanted it to do. Wouldn’t suggest this avenue for people who don’t want to take a lot of time on their hair. This takes hours to do because you have to use Henna first then apply this product.
Harp (comprador verificado) –
Very high quality indigo powder
Very impressed with this product, best indigo powder i have used so far. Dye release is quick and very strong. Be warned, it will stain everything! And the smell made me a bit dizzy. I added coconut oil to my hair once it was towel dried as it is drying. I only left it on for 30 minutes but i love the colour. I put it on straight after using Nupur Herbal Henna, which i have used for a while but never liked the orange result. This indigo got rid of that. Will definitely purchase again.
me (comprador verificado) –
I had henna in before to get a pretty red. For winter I wanted to go black
I tried this the first time and it did make my hair darker but it wasn’t black by any means. I had henna in before to get a pretty red. For winter I wanted to go black. I read some of the others reviews and tried again later. Soo to get the pretty black I used Hannah Natural 100% Pure Henna Powder, 100 Gram I mixed it up with Indian Spice Tea to make it smell nice and let it cure overnight to get a darker color. I also put some coconut oil in it as well. It can dry your hair a little. I put the what I refer to as a “mud hair mask” of Henna and left it on for about 3 and a half hours. Washed it out and mixed up the Indigo Powder once again with the Tea and I added a little salt to help the dye. I left it on all day 8hrs-ish. It was during that big snowstorm so I wasn’t going anywhere. You can leave it in overnight if you can sleep with it warped up in plastic and a bandanna. When I washed it out it was a really pretty shiny Black. It took all day but it works and isn’t harsh on your hair 🙂
Sian (comprador verificado) –
Combine with Henna Powder for a Lovely Shade!
(Copied from my review of Henna Powder – but this product is supposed to be used with Henna so I think it’s relevant)I’m allergic to hair dye, so I dye my hair with Henna. I tried Henna for the first time as a teenager after discovering my head swells like a balloon and oozes when I dye my hair with normal hair dye, and I was not impressed. I hated how it smelled, the consistency and how it made my hair look orange after a few washes. As I got older and started to notice those pesky grey hairs creeping in I decided to give it another shot, so I got henna from Lush. In the UK it’s around £9 for a block, but in the US it’s almost $30 – what a huge rip off! I searched for an alternative on Amazon and found this little beaut. After doing a little Amazon research, I found that combining one packet of this Henna powder with a packet of Indigo powder from the same brand my hair looks a wonderful dark brown colour with red highlights in the sun. Huge thank you to the reviewer who shared her recipe in the comment section, it works!!Yes, Henna is stinky, yes it causes a mess. I lay down plastic wrap on my bathroom floor and it looks like I’m about to murder someone, but this is a means to an end for me and I’m happy to say it works. As for my hair dye allergy – I do get a slight allergic reaction behind my ears (sensitive skin area I’m guessing?), I feel a little bit itchy but other than that it’s all bearable. After taking a allergy tablet I’m fine. Plus this is CHEAP! What’s not to love?
Jasmine (comprador verificado) –
Does Nothing!
To cover the gray, I used the two step method, separate applications (henna first then indigo). Rinsed the henna with water (no shampoo or condition). The henna left the grays bright copper. The indigo turned a deep muddy green in the bowl. (Turned darker on my hair, but never blue or black.) Left it on for four hours. Rinsed. Nothing. The hair that was originally gray was still Clown Copper Orange from the henna two days Later! Either this was a bad batch or a bad product. Waste of time and money. Currently searching for a fix.
Dan Nickels (comprador verificado) –
Great Product!
My wife Loves this product. No more of the dangerous and damaging chemical dyes like she used to use.Now my full review:1st of all, this isn’t an Easy or Fast method of dyeing hair. If you need fast and easy, use the harsh chemical dyes. But if you want a product that is safe, easy on your hair, and looks great and natural, read on.This is what we do once a month:1. Wash you hair with a shampoo that will Clean your hair completely. (You don’t want a product that has ANY type of oil or conditioner in it). We actually use Dawn Dish-washing Liquid which cleans ALL of the oily products from your hair. Then she towel dries and blow dries.2. We then apply the ” Hannah Natural 100% Pure Henna Powder, 100 Gram by Hannah Natural” as per instructions to all of her hair.(We mix the henna the night before and add a little salt, lemon juice, and cinnamon powder. About a teaspoon each).3. This is covered and let on her hair for about 2 hours. Then she showers, with JUST WATER to wash all of the residue out. Then she towel dries her hair and blow-dries.At this point, all of the new grown in gray looks red. (A red-head could probably stop here:)4. While she is blow-drying her hair, I mix the Hannah Natural 100% Pure Indigo Powder for Hair Dye with a teaspoon of salt.This is applied to ALL of the red areas (usually the new grown in hair) to completely cover. With the remaining black dye, we usually streak the last months dyed black hair, in Some Sections, from the last months application. (Gives the hair a more natural look)5. Then her hair is covered and remains on for two more hours.6. After the two hours, she Water Rinses, towel dries, and blow-dries her hair. After only the Water Rinse and NO hair product involved, her hair looks Fantastic! It looks natural, silky, and not dried out and box dyed.7. Days later, if her hair starts to feel ‘dirty’ to her, she shampoos with her normal shampoo product and conditioner.Her hair looks absolutely fantastic and has a natural brunette look as opposed to the Boxed Dyes.SIDE NOTE:When we first tried this indigo product, her hair had a bluish tint. It was then that we discovered that applying the natural henna first had such a dramatic effect and made her hair look So Natural that she gets comments like: “You are SO Lucky that you aren’t turning grey yet….”Now You Have To Realize that dying her hair in this way takes a lot of time on her part (usually about 5 hours every Sunday).For me, however, it only takes about 15 minutes total. When it’s time to apply the natural hannah or indigo hannah she just calls me. I could be changing the oil in one of our cars, doing lawn work, etc. etc. but I just come in for about 8 minutes and apply the product for her. (I like to use a 2 inch cheap Flat Chip Paint Brush from Lowes or Home Depot that only cost a buck or two. I found that these cheap brushes work Much Better than my expensive paint brushes.)AND the little 2 buck brush washes out with water and last for over ‘A Year Or More’! A testament to how safe these natural dyes are.
Danny (comprador verificado) –
Good product, does not last very long
Good alternative to typical box hair dyes but does not last long even with prior henna application and following directions.
uralochka1967 (comprador verificado) –
like the results
I am using this indigo powder in my hannah recipe. My hair looks very healthy and beautiful. I want to share my recipe. I just started using hannah. I went through a lot of videos and sites. Everybody does it differently (washing or not washing hair before,;adding some other products, oils, etc. to the paste; waiting for 24 hours before applying; and so on). Eventually, I digested all this info and created my own recipe. Hopefully it would help others. Before I switched to hannah, I was using Clairol no ammonia brand, my last shade was 28 nutmeg dark brown. So my hair was dark, and I needed it to stay dark, but I am grey at least 50%. So I did my first coloring in two stages, as other people suggested:- I washed my hair, dried it with a towel, and applied my paste, which I made right before using it: 1 tbs of Amla (supposedly nourishes hair and cools down reddish color of hannah) and 3 tbs of hannah and warm water to make ketchup-like paste . My hair is short, so this amount was perfect, and also it was not messy at all. Put a shower cup, wool cup on top, for 5 hours. Then washed it out with a little bit of conditioner. The result was amazing, even though the roots were orange a little, after I dried my hair, I could not see it, and grey was covered.- two days later, I made another paste: 1 tbs of hannah and 1 tbs of indigo, just to make roots darker; for about 1 hour; I would suggest to have it for a little longer; at first I did not see the difference, but the next day, roots were a little darker. These pictures from today, a few days after this second coloring.- now I am planning to do that maybe once a month, and next time I will mix 1 tbs of amla, 1 tbs of hannah, 2 tbs of indigo; and will see how that would look with a little more indigo. I did not buy ready-mix hannah, I bought all separately: amla, hannah and indigo, so I can play, mix it and modify as I need.